Research Guide
Author(s):
Current Version: 1.6.0 | Last Updated: June 8th, 2025
Introduction
Research is one of the most confusing aspects about Azur Lane. This guide hopes to give players a comprehensive overview of the Fleet Technology , Research Academy , and Shipyard tabs of the Lab .
Fleet Technology
Main Article: Fleet Technology Guide
Shipyard
-
See the Fleetbuilding Guide to see how ships fit into your fleet.
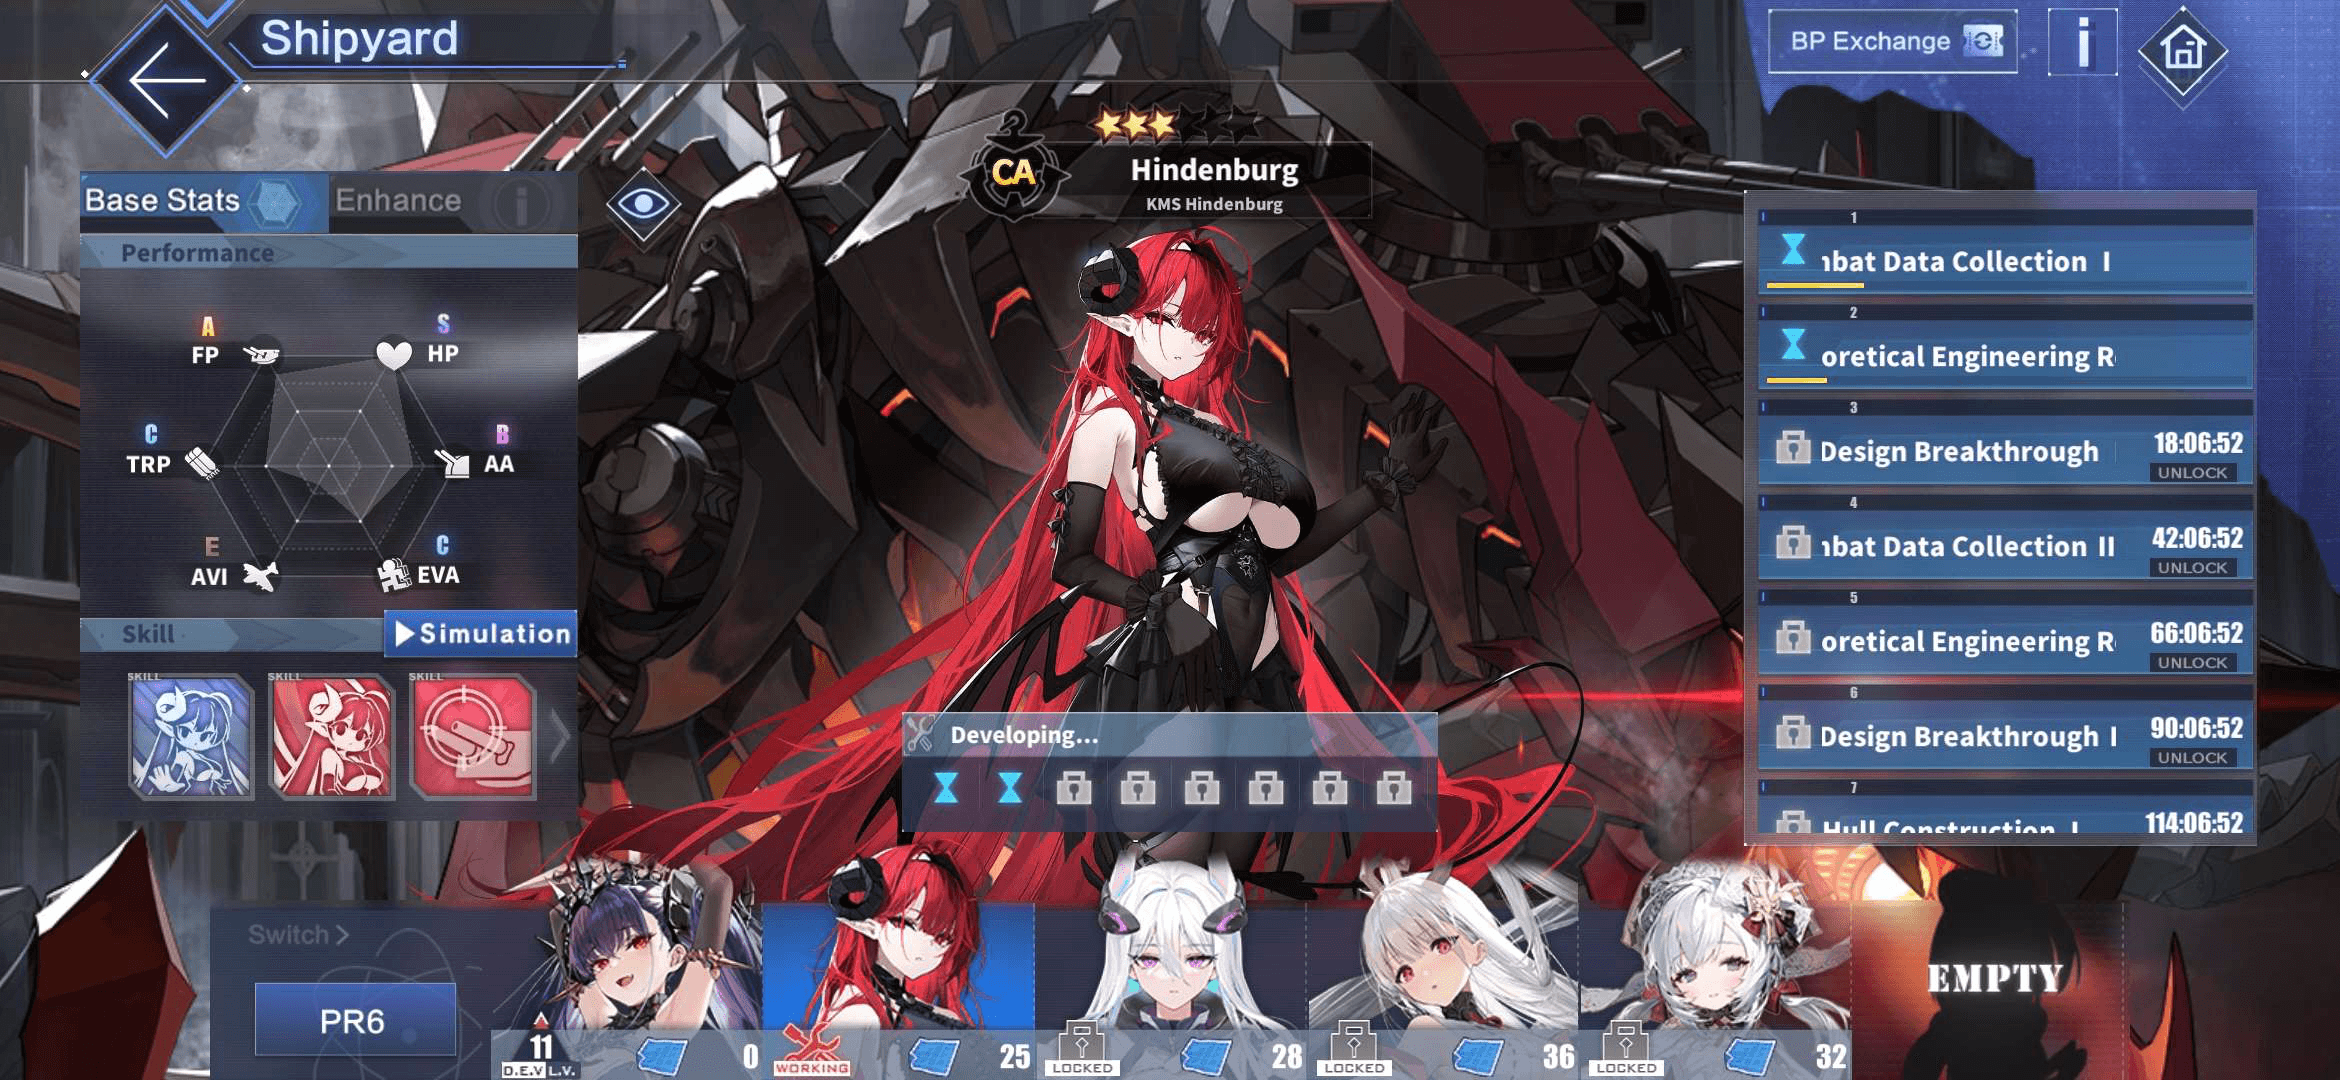
Shipyard UI
This is where you unlock and develop Shipyard ships.
Coin-up
All PR1, PR2/DR2, PR3/DR3, and PR4 ships can have their prints be bought with coins! PR and DR Coin-up are seperate. See this wiki page for more information.
Recommended Development Order
High Priority:
Unfortunately, it is very unrealistic to start with the High Priority targets. Therefore, here are other priorities to focus on.
Other Priorities:
-
Coin-up ships.
-
Any PR1, PR2, PR3, and PR4 ship can be enhanced efficiently through Coin-up, making them good to start with.
-
If you need Tech Points for Friedrich der Große , pick Roon . Otherwise, it doesn't matter who is selected.
-
-
Ships you have a lot of blueprints for.
-
Ships for Commander Handbook Missions .
-
You need 1 ship each from PR1-PR6 due to Commander Handbook Missions . DR ships count for this as well.
-
Shipyard Priority by Season
-
PR1: Izumo >= Ibuki = Roon > Saint Louis = Monarch > rest
-
PR4: Anchorage >= August von Parseval >= Marco Polo
-
PR5: Harbin = Chkalov > Prinz Rupprecht
-
PR6: Shimanto > Felix Schultz = Flandre
-
PR7: Halford = Bayard = Daisen
-
PR7 Catch-up is not released yet.
-
-
DRs: Friedrich der Große > rest
-
Since FdG has coin-up, she is the highest priority to acquire. Some other DR ships also have coin-up, but they are worse value compared to FdG.
-
Get all other DRs at your own pace. Since they take forever to max, there is no rush.
-
Notes:
-
Bolded ships are the recommended Catch-up selections for that season.
-
If a ship is not listed, but has a Catch-up (ex. Drake ), do it last.
-
For PR Catch-up Min-Maxing, read this section for more information.
-
Research Academy
See also: Research Academy
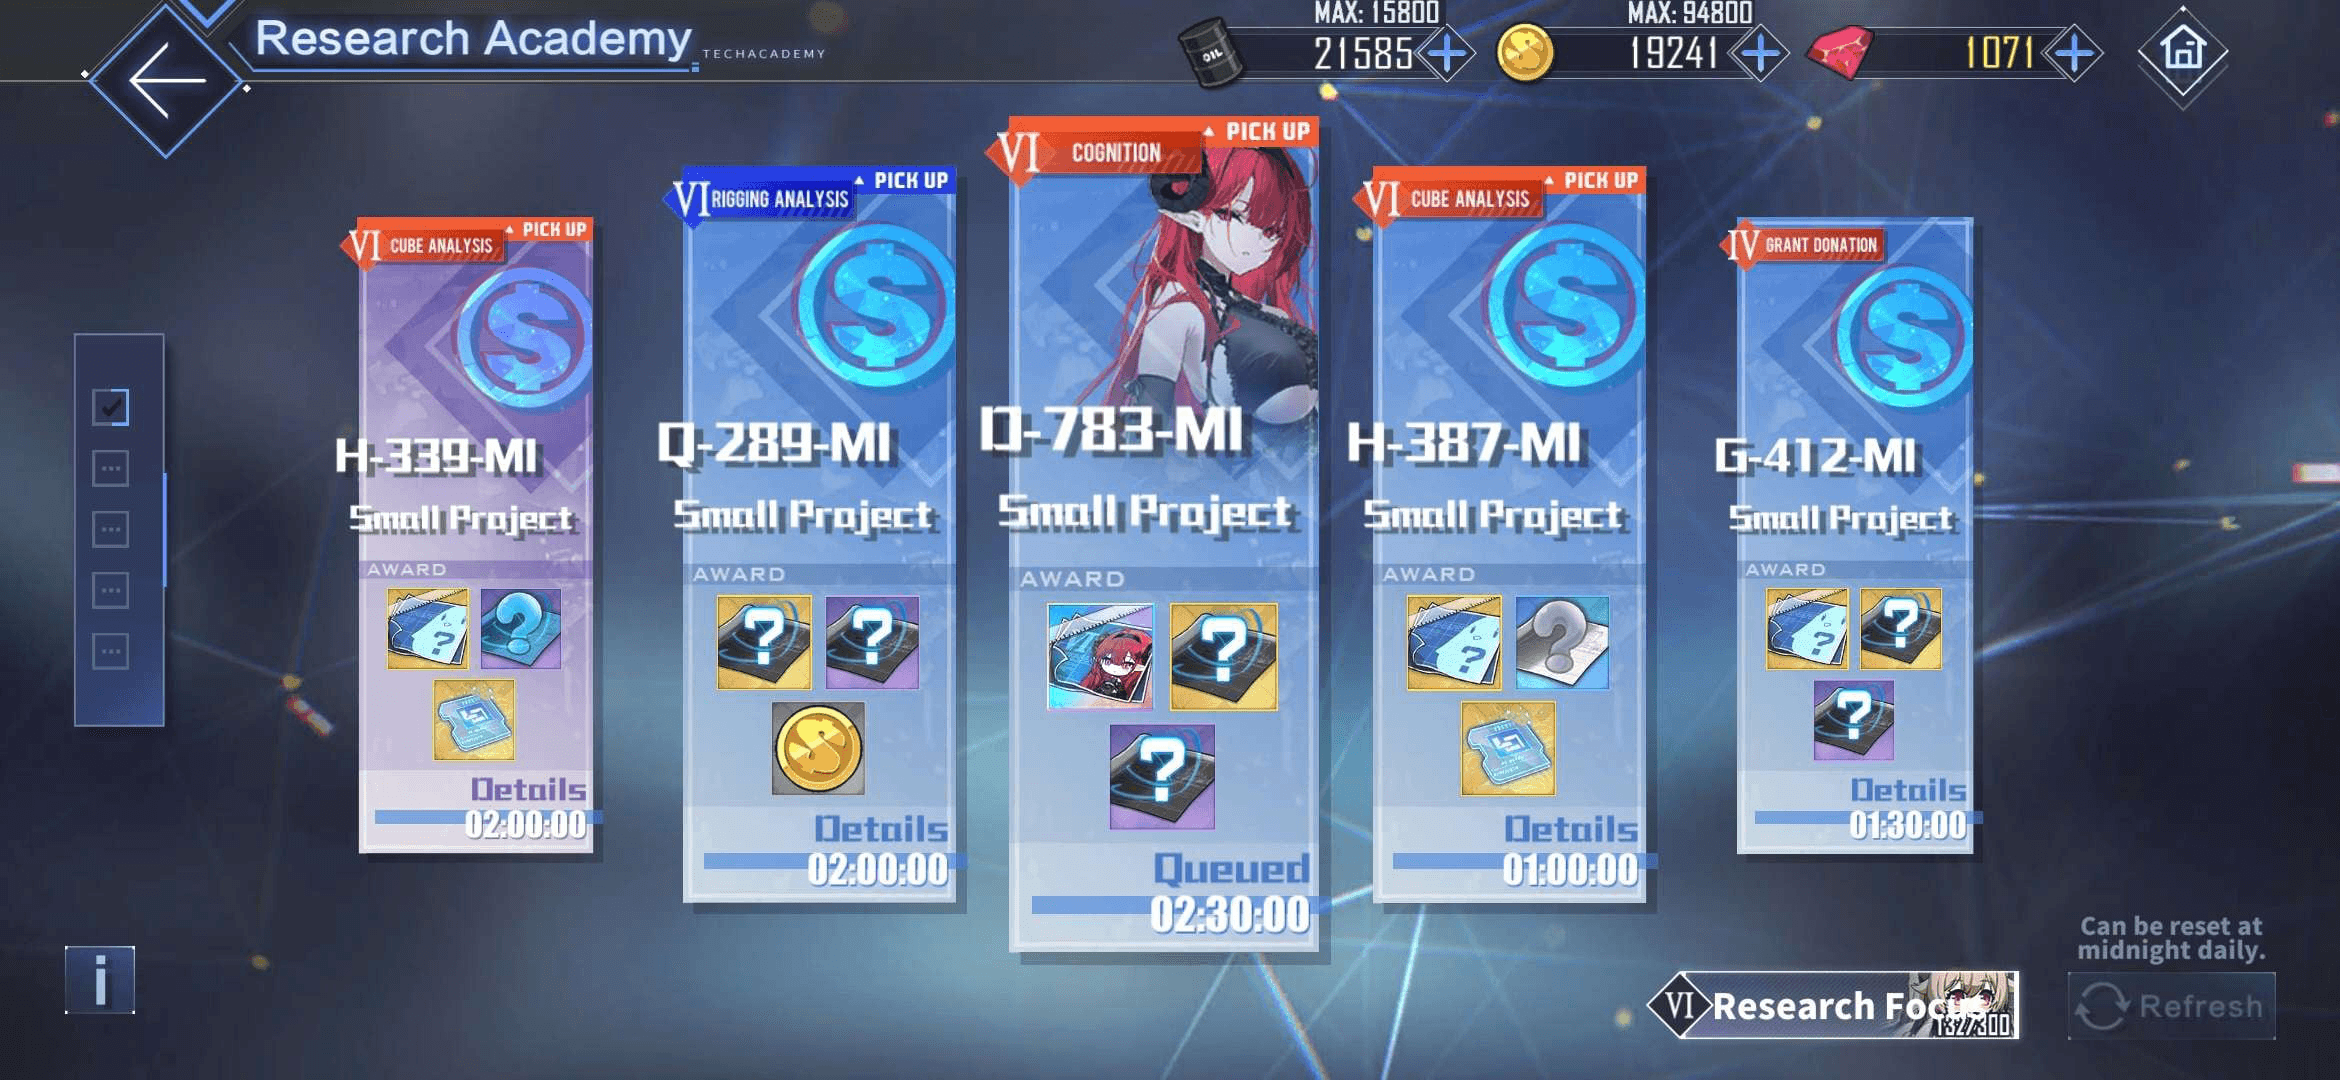
Research Academy UI
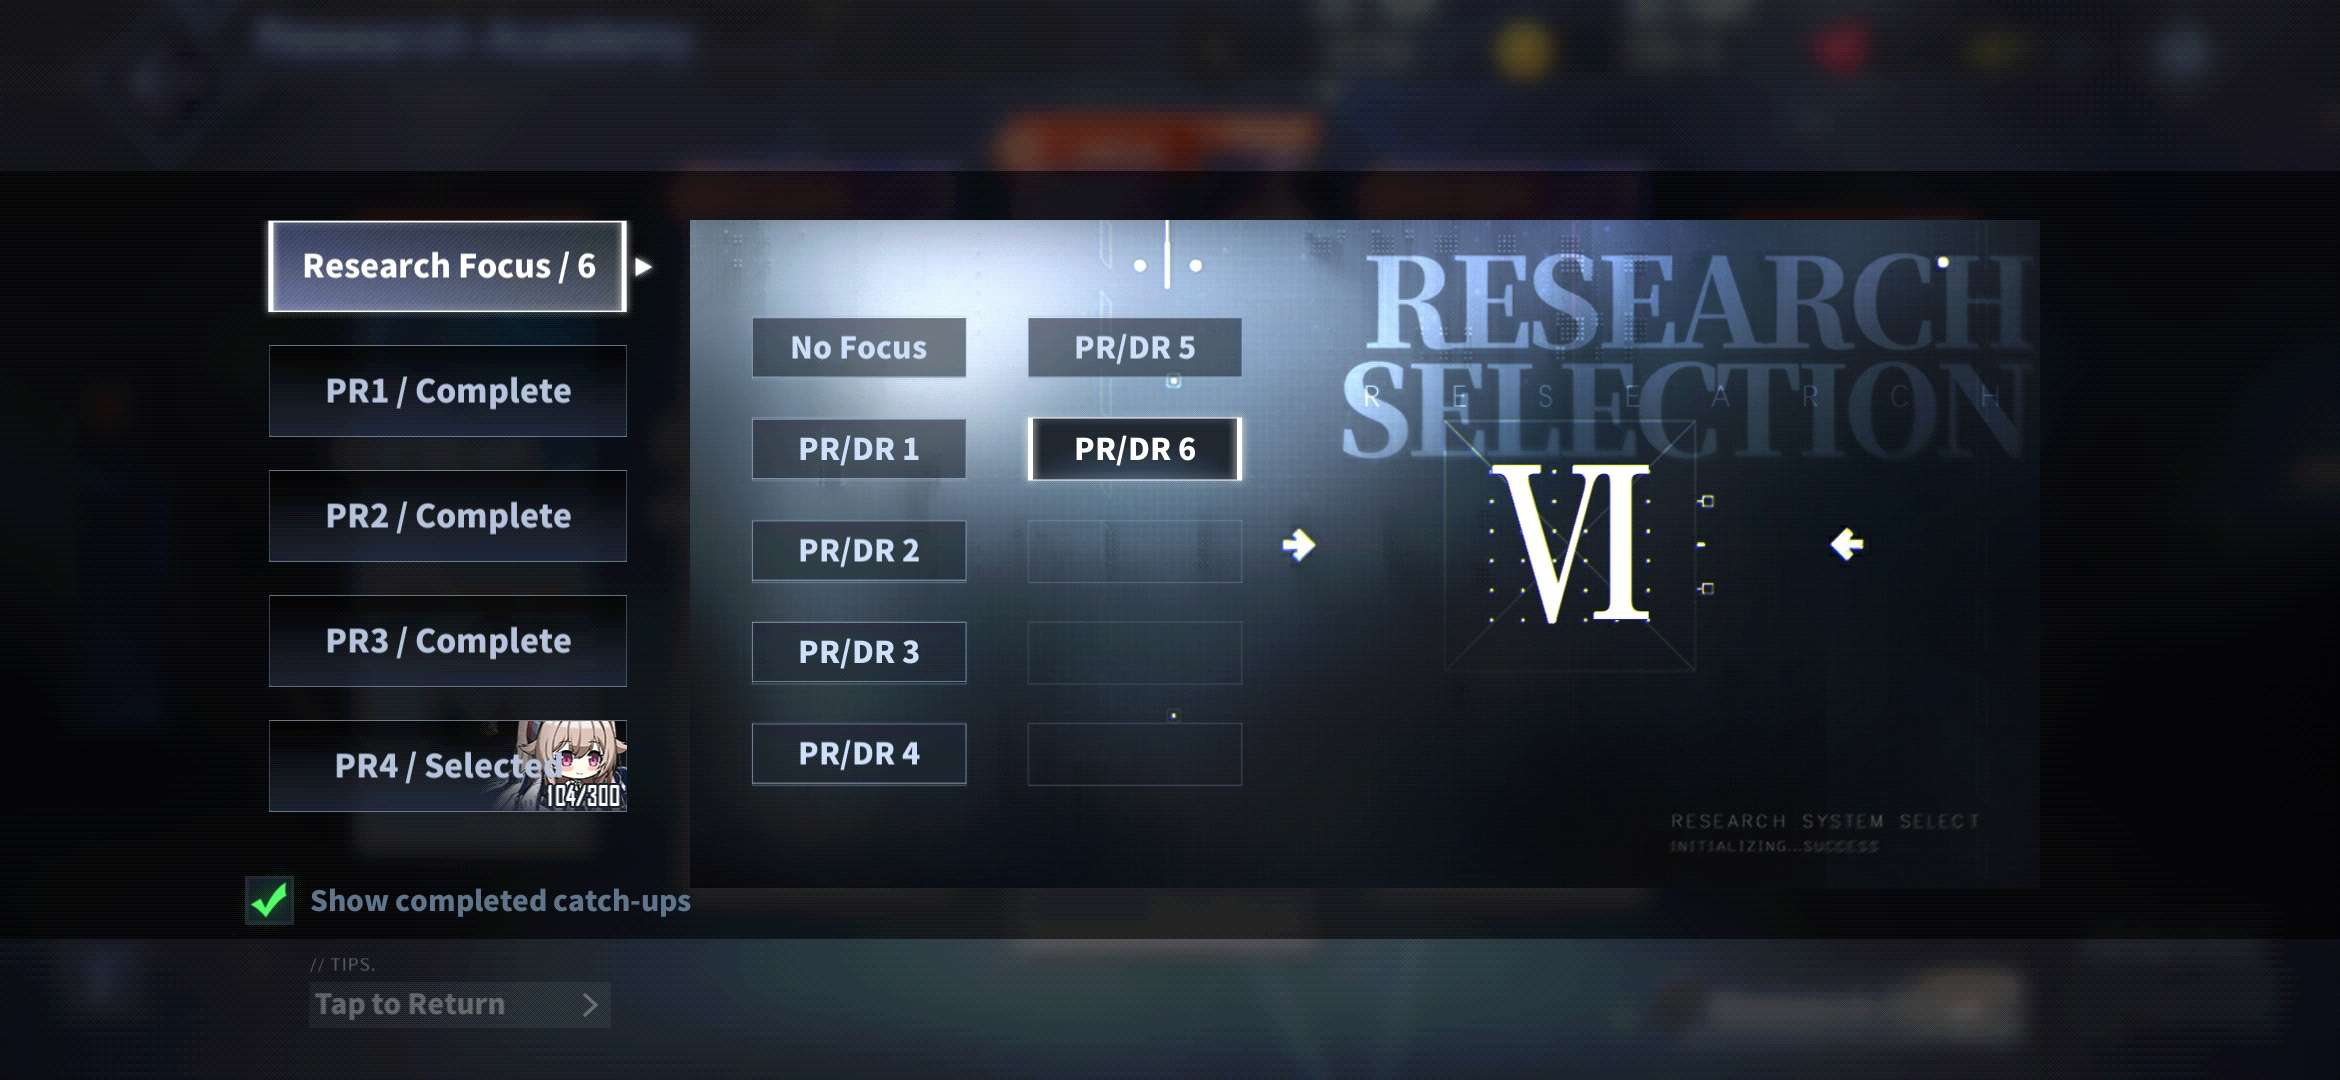
Research Focus UI
Research Focus and Catch-up are seperate!!!
Notice in the "Research Focus UI" image, "Research Focus" is listed seperately! Read the below sections for more information.
Purpose of Research
To get PR / DR Blueprints to use in Shipyard , as well as Equipment Designs to craft into gear.
Research Focus
When a season is focused, at least 3 out of the 5 available Research Projects will be from that season.
Research Focus Optimization:
Select any season PR5 or higher unless you know what you are doing. They have the best ships and gear.
-
PR6 is slightly worse than the other 2 options (PR5, PR7) due to having similar ships but worse gear. Still fine to set as a focus, however.
Why not PR1, PR2, PR3, PR4?
-
All the PR ships in PR1, PR2, PR3, PR4 can have their ship blueprints bought with coins directly, instead of having to research for them.
-
All the DR ships in DR2 and DR3 can have their ship blueprints bought with coins directly, instead of having to research for them.
-
All the gear in PR1, PR2, PR3, PR4 (and most later seasons) are found in the Prototype Shop and/or the Gear Lab .
Catch-up
When a ship is selected for catch-up, every research you complete will always give a minimum of 1 additional print that is for the catch-up ship selected.
What you get from Catch-up:
-
300 total (PR) prints for a combination of any of the 6 PR1 ships.
-
300 total (PR) prints for a combination of any of the 4 PR2 ships.
-
300 total (PR) prints for a combination of any of the 4 PR3 ships.
-
300 total (PR) prints for a combination of any of the 3 PR4 ships.
-
300 total (PR) prints for a combination of any of the 3 PR5 ships.
-
300 total (PR) prints for a combination of any of the 3 PR6 ships.
-
It's recommended that all 300 prints are for the same ship, until the ship reaches Development Level 30.
-
150 (DR) prints for Friedrich der Große
-
150 (DR) prints for Azuma
-
150 (DR) prints for Drake
-
150 (DR) prints for Ägir
-
150 (DR) prints for Hakuryuu
-
150 (DR) prints for Kearsarge
-
150 (DR) prints for Hindenburg
You can only do one catch-up at a time, but there is no time limit. It is recommended to do the PR catch-ups before the DR catch-ups.
Recommended Catch-up selections: See this section for more information.
For PR Catch-up Min-Maxing: See this section for more information.
Optimal Research Academy Projects
Notes:
-
Projects ARE rated within a tier!
-
For D researches, Rainbow Ship Blueprints > Gold Ship Blueprints, regardless of the research length / rarity color.
-
Only spend cubes on research if you have a large (400+ cubes or higher) surplus, and are willing to risk your gacha chances.
-
Avoid taking H-type or D-type projects once all ships in that season are maxed. The protocore gained is not worth it.
-
Always have a research running at all times, even if it's bad!
S-Tier Projects
| Name | Associated Names | Length | Rewards |
|---|---|---|---|
| D-0XX-UL | Soul Forming, D-UL, Rainbow-UL | 30 Minutes | Ship Prints, Gear Prints |
| D-0XX-UL | Soul Forming, D-UL, Gold-UL | 30 Minutes | Ship Prints, Gear Prints |
| Q-0XX-UL | 30 min Rigging Analysis, Q-UL | 30 Minutes | Gear Prints |
| H-0XX-UL | 30 min H, H-UL | 30 Minutes | Ship Prints, Cognitive Chips |
A-Tier Projects
| Name | Associated Names | Length | Rewards |
|---|---|---|---|
| H-387-MI | Blue H, 1 Hour H | 1 Hour | Ship Prints, Cognitive Chips |
| D-7XX-MI | Blue D, Blue Face, 2.5 Hour Face | 2.5 Hours | Ship Prints, Gear Prints |
| D-3XX-MI | Purple D, Purple Face, 5 Hour Face | 5 Hours | Ship Prints, Gear Prints |
| D-4XX-RF | Gold D, Gold Face, 8 Hour Face | 8 Hours | Ship Prints, Gear Prints |
| Q-0XX-MI | Purple Q, 4 Hour Q | 4 Hours | Gear Prints |
B-Tier Projects
| Name | Associated Names | Length | Rewards |
|---|---|---|---|
| Q-3XX-MI | Blue 1 Hour Q, 1 Hour Q | 1 Hour | Gear Prints |
| Q-2XX-MI | Blue 2 Hour Q, 2 Hour Q | 2 Hour | Gear Prints |
| G-531-MI | Purple G, 4 Hour G | 4 Hours | Ship Prints, Gear Prints |
| E-315-MI | Purple 2 Hour E, 2 Hour E | 2 Hour | Gear Prints |
| E-031-MI | Blue 2 Hour E, 2 Hour E | 2 Hour | Gear Prints |
| G-412-MI | Blue 1.5 Hour G, 1.5 Hour G | 1.5 Hours | Ship Prints, Gear Prints |
| G-236-MI | Blue 2.5 Hour G, 2.5 Hour G | 2.5 Hours | Ship Prints, Gear Prints |
C-Tier Projects
Everything else falls into this category. If you are forced to pick one due to all the options being terrible, pick the shortest option that doesn't cost cubes, regardless of if the ships in the season are maxed or not. Save your refresh button for times like these.
Protocore
Protocore is a resource used to buy goods in the Prototype Shop .
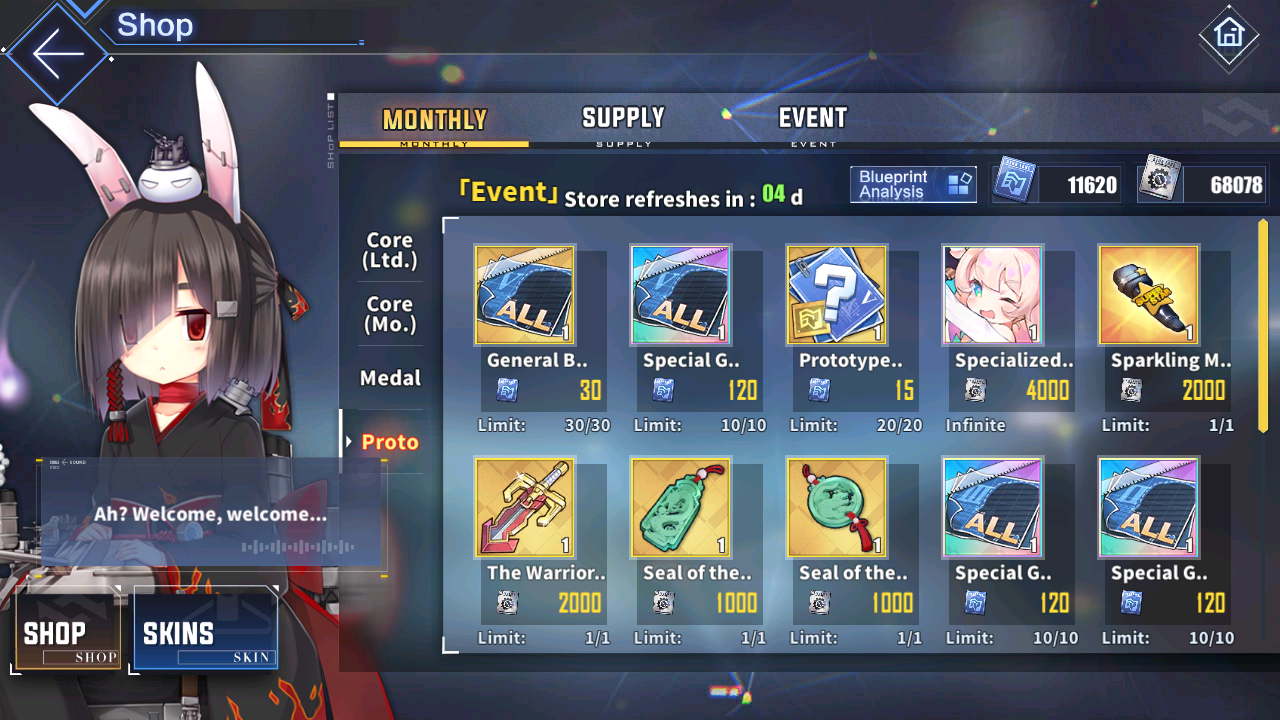
Prototype Shop UI
Protocore Conversion UI
Protocore Spending
Notes:
-
See Shop Priority for a more general priority chart.
-
You can only purchase 20 Gold Rarity prints per season, per month. Be sure to double check your existing print counts, and print-income estimates, before spending Prototype Core here.
| Gear | Season | Recommended Quantity | Cost (in Protocore) | Description |
|---|---|---|---|---|
 | PR3 | 3 Equipment |
1125 | Best 20s reload AP BB gun. Found under "Prototype Weapon Blueprint - Series 3." Craftable in Gear Lab. |
 | PR4 | 3 Equipment |
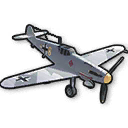
1125 | Top fighter against Light or Medium Armor bosses. Found under "Prototype Weapon Blueprint - Series 4." |
 | PR4 | 1 Equipment |
3000 | Best General-Use Dive Bomber. |
 | PR2 | 1 Equipment |
3000 |
Best 18s AP BB Gun, also really good when Mobbing. |
 | PR5 | 1 Equipment |
3000 | Best General-Use CL Gun. |
Protocore Income
Notes:
-
See Common Resource Guide for a more general resource-income chart.
-
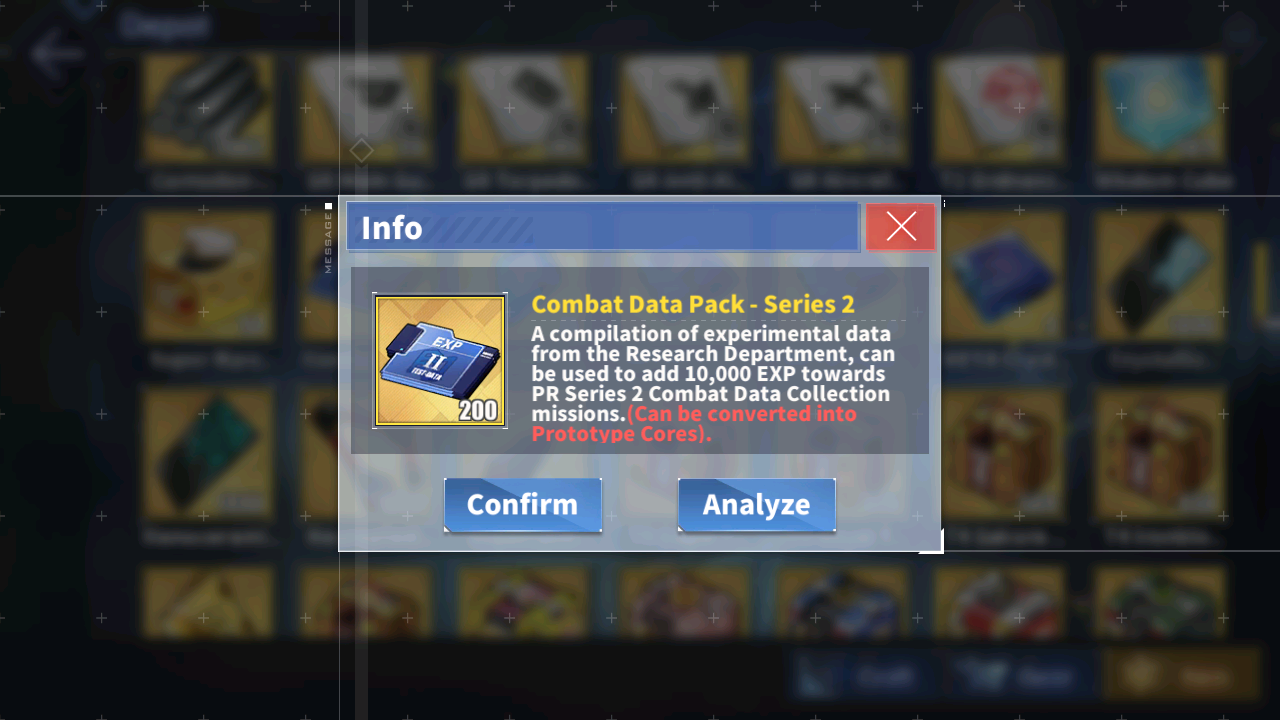
1 Combat Data Pack
 -> 2 Protocore
-
1 PR Print
 -> 5 Protocore
 -
1 DR Print
-> 20 Protocore
| Method | Income (in Protocore) | Total Income | Notes |
|---|---|---|---|
| 200 | - |
Obtained by converting | |
| 800 | 4800 |
Development Missions section.
| |
| 1500 | 3000 |
Obtained by converting |
PR Catch-up Min-Maxing
-
This is NOT necessary. You will be fine if you don't do this.

Optimizing Protocore
Ideally, the total Protocore income is 5000 from the methods listed above.
-
High Priority Purchases (4125
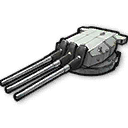
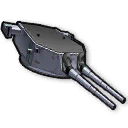
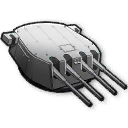
): Triple 406mm/50 Main Gun Mount (x3),
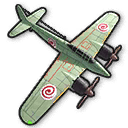
Prototype Tenrai .
-
With the rest of your currency, you can consider buying some of the other gear listed above.